I really wanted a dowelling jig. I didn’t want to spend hundreds on the exact one I wanted. I didn’t want to compromise on a cheaper one that didn’t quite fit what I wanted. So in order to save some money, I decided to spend 50+ hours designing and printing my own.
Requirements
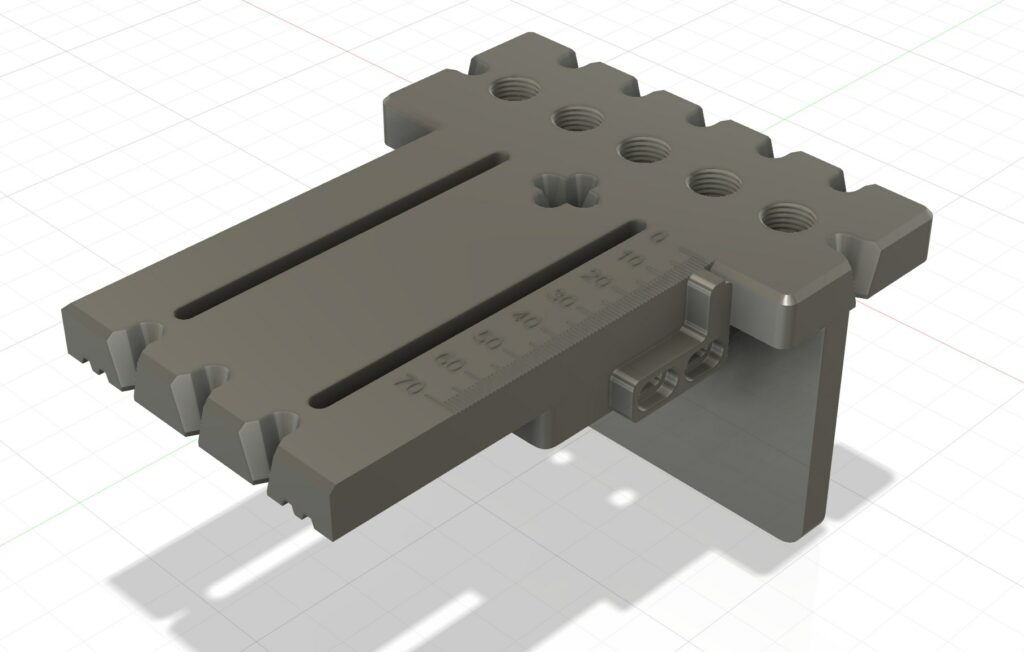
- Accurate. This means it should be easy to line up with pencil marks from any direction. And be able to make repeatable dowel holes. Must include measurements on the design. These measurements should 3d print nicely.
- Flexible. Should be able to add dowels to small pieces as well as large, for example in the center of a panel where no clamping edge exists.
- Adjustable fence. Many of the existing 3d printable designs online have a fixed fence.
- Easy swap fence. If needed, I want to be able to swap the fence out to suit whatever i’m working on.
- Availability. Should use off the shelf parts where they are needed.
Designing The Features
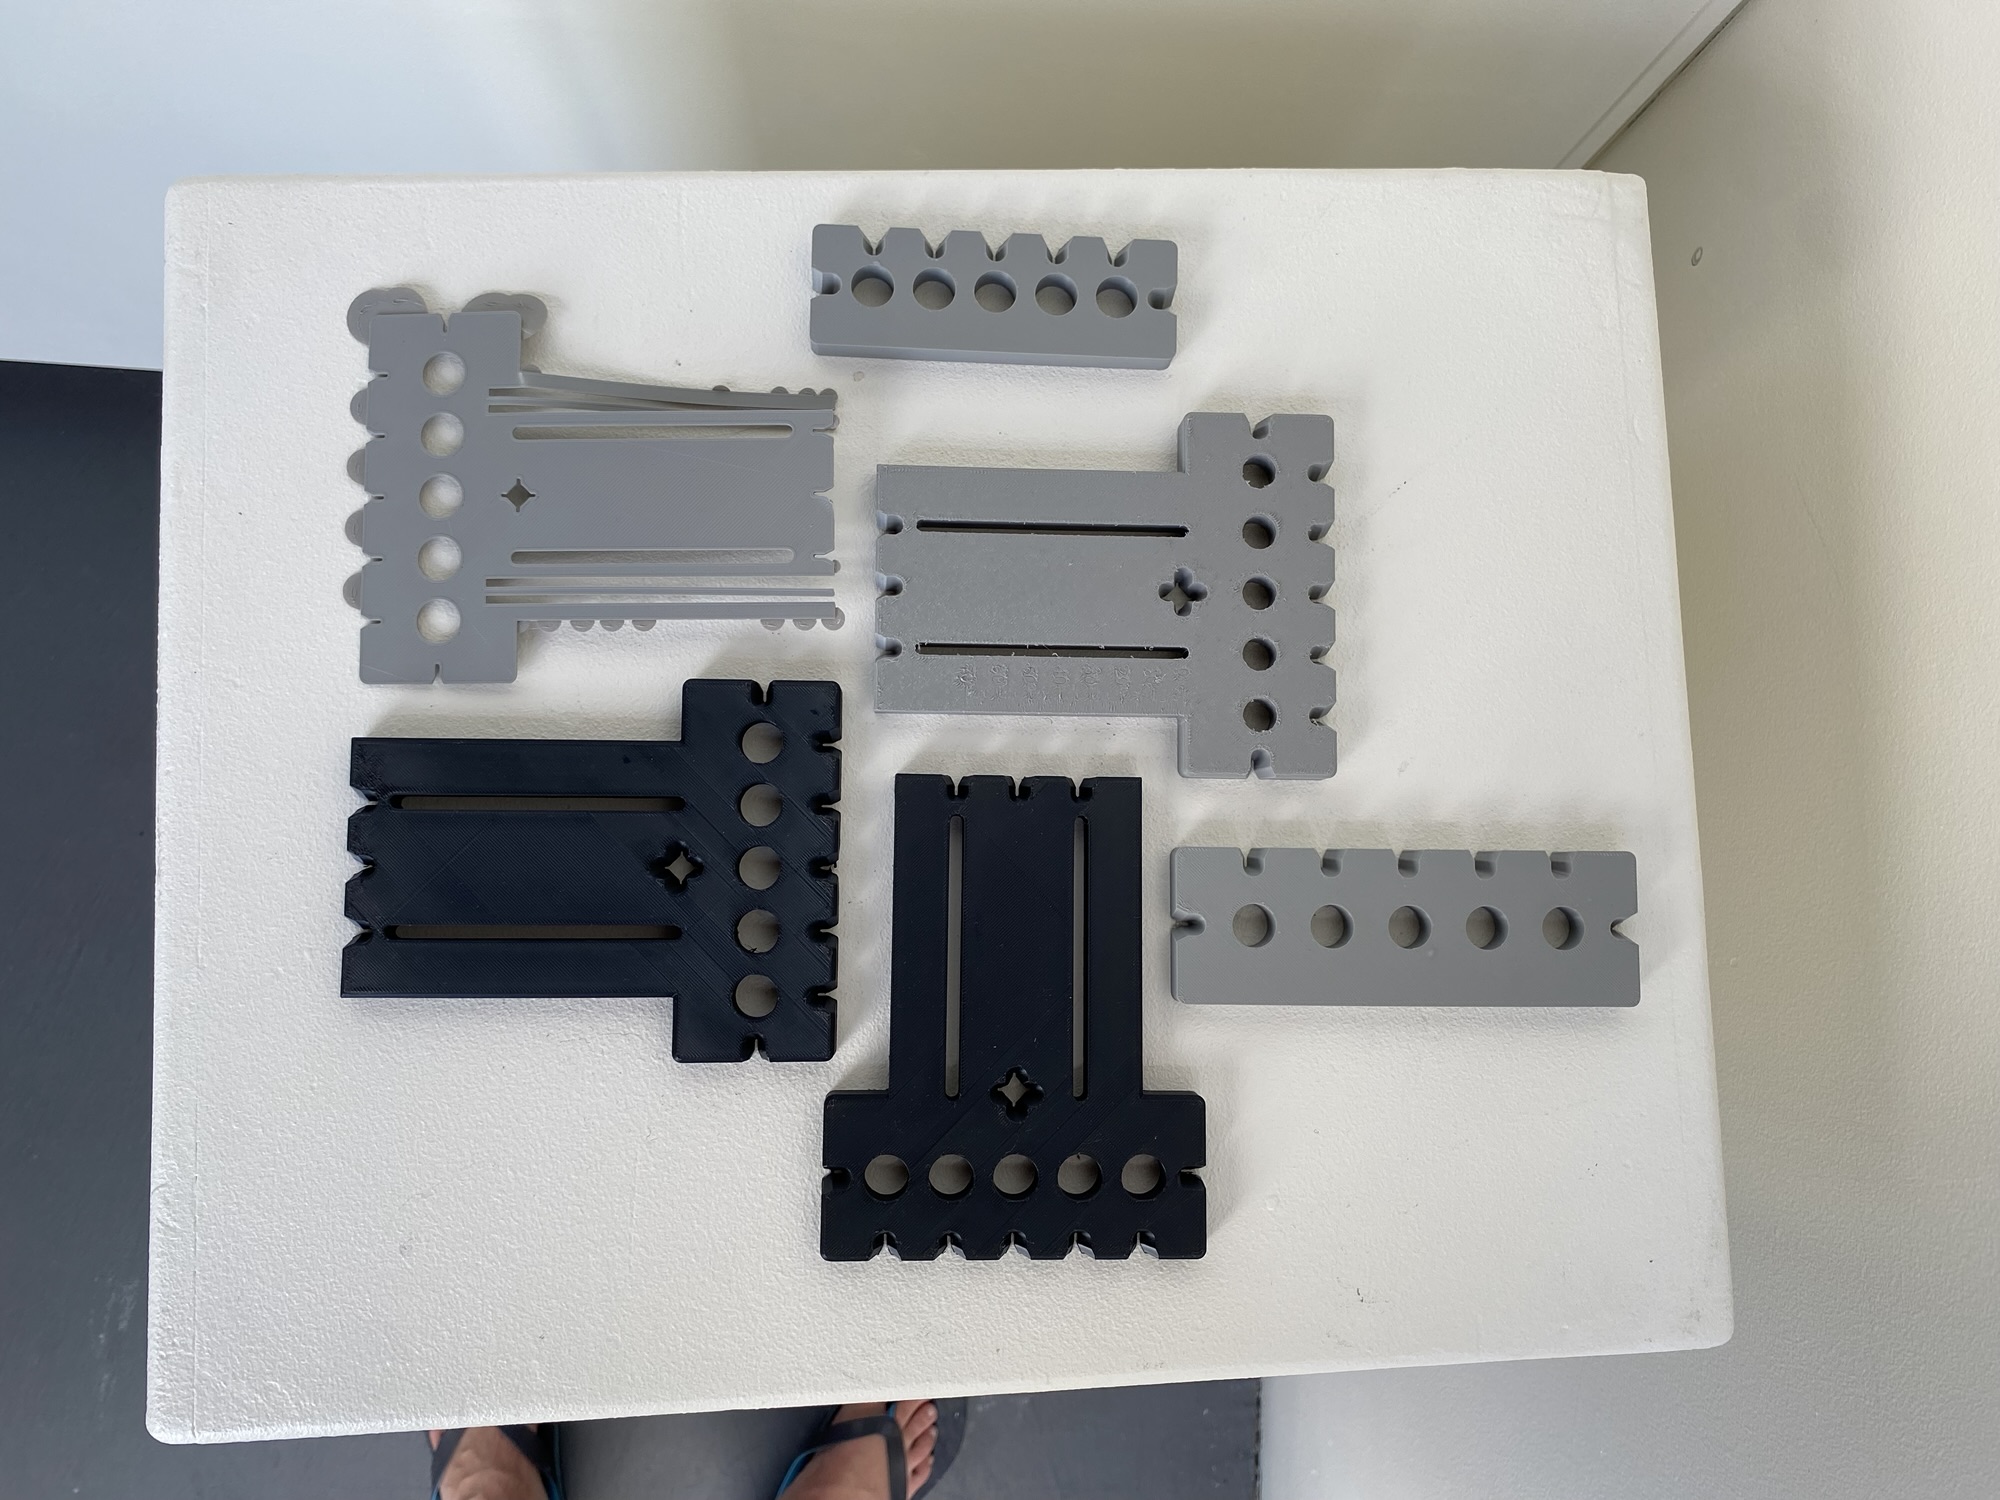
I very quickly realised it was far more efficient to print only small parts of the model to test sizing etc, rather than printing the entire thing each time only to find one small part doesn’t work as intended.
The various features I printed and tested included the markers that feature on all sides of the main body, the sliding mechanism, the holes for the threaded inserts, plus any printed text needed to be clearly visible.
I also briefly experimented with a slightly larger overall design, based on 25mm centers (as opposed to 20mm centers) but decided it felt far too cumbersome.
Once I was happy with all the individual features, I combined them all into the main model and start printing tests. Most of them were at 20% infill. I decided to print one at 100%, but something went very wrong with this, the top few layers were massively over extruded. In the end, I decided on a 90% infill, with all but the top 4 layers printed at .2mm and then the top 4 or so layers printed at 0.08mm which improved the quality of the text.
Scaling and accuracy
One of my early concerns was the dimensional accuracy of the printed part. I printed a number of tests, measured the result and scaled the following printed accordingly. Improving it through each iteration.
The result is a product that measures 139.98mm, where it is expected to measure 140mm. That means that over the 70mm distance of the measurement markings, it’s 100th of a millimeter out, which I feel for woodworking is perfectly fine.
I may try and improve this further if I have time, but I don’t think it’s necessary.

Part 2 coming soon.
Leave a Reply